AMCT final
For my final project I wanted to create a video for the Texas A&M Cycling Team I am on using Adobe Premiere. I have had an interest in film for a considerable period of time now, so I thought it would be very educational, fun, and beneficial to undertake this project.I shot the footage over one week. I got footage at the University of Texas race and then later on at one of the local cycling rides. One of the most difficult parts about getting footage was trying to get a wide variety of shots. During the Texas race, I actually hitched a ride in one of the chase cars to get some of the shots. That was a lot of fun; I had front row seats to the race. I also filmed a local race called the TNP race which stands take no prisoners. For those shots I had a friend driving my car, while I sat in the bonnet with my camera. It was raining that day so it was intense.
Editing the whole thing took several days. The way Premiere works, is you capture your footage from your camera to your computer in the form of a .avi file. Premiere has this capture capability built into it. Then you have a block of video that you can scrub through frame by frame and select the footage that you want.
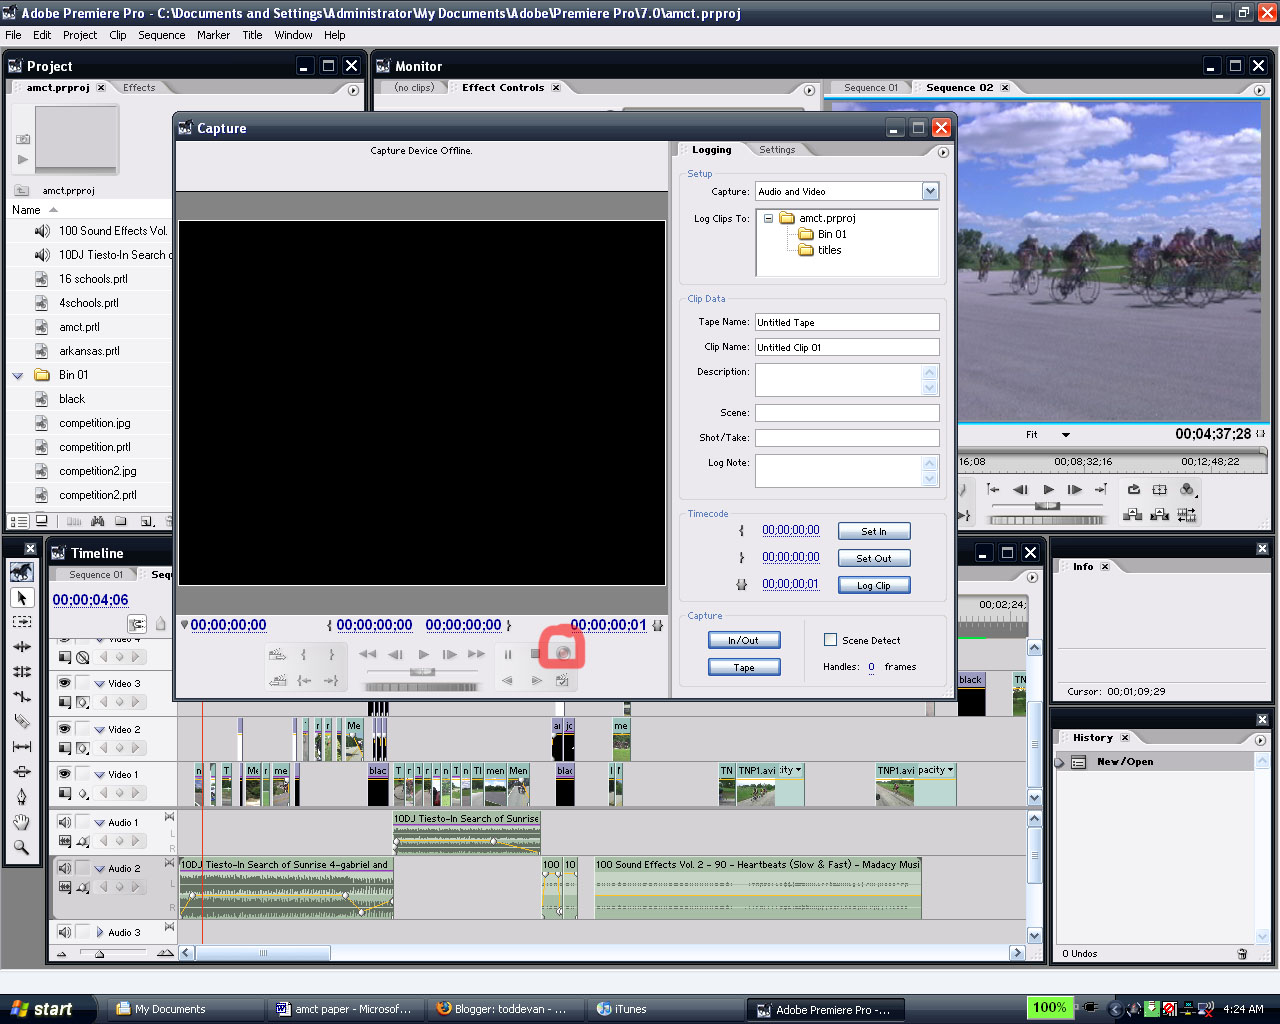
Premiere has tools for cutting and stretching film segments. You can have several layers of film playing at the same time, and you can get some crazy effects by layering film. Premiere also lets you import .mp3 files and have music files going on multiple levels just like the video.
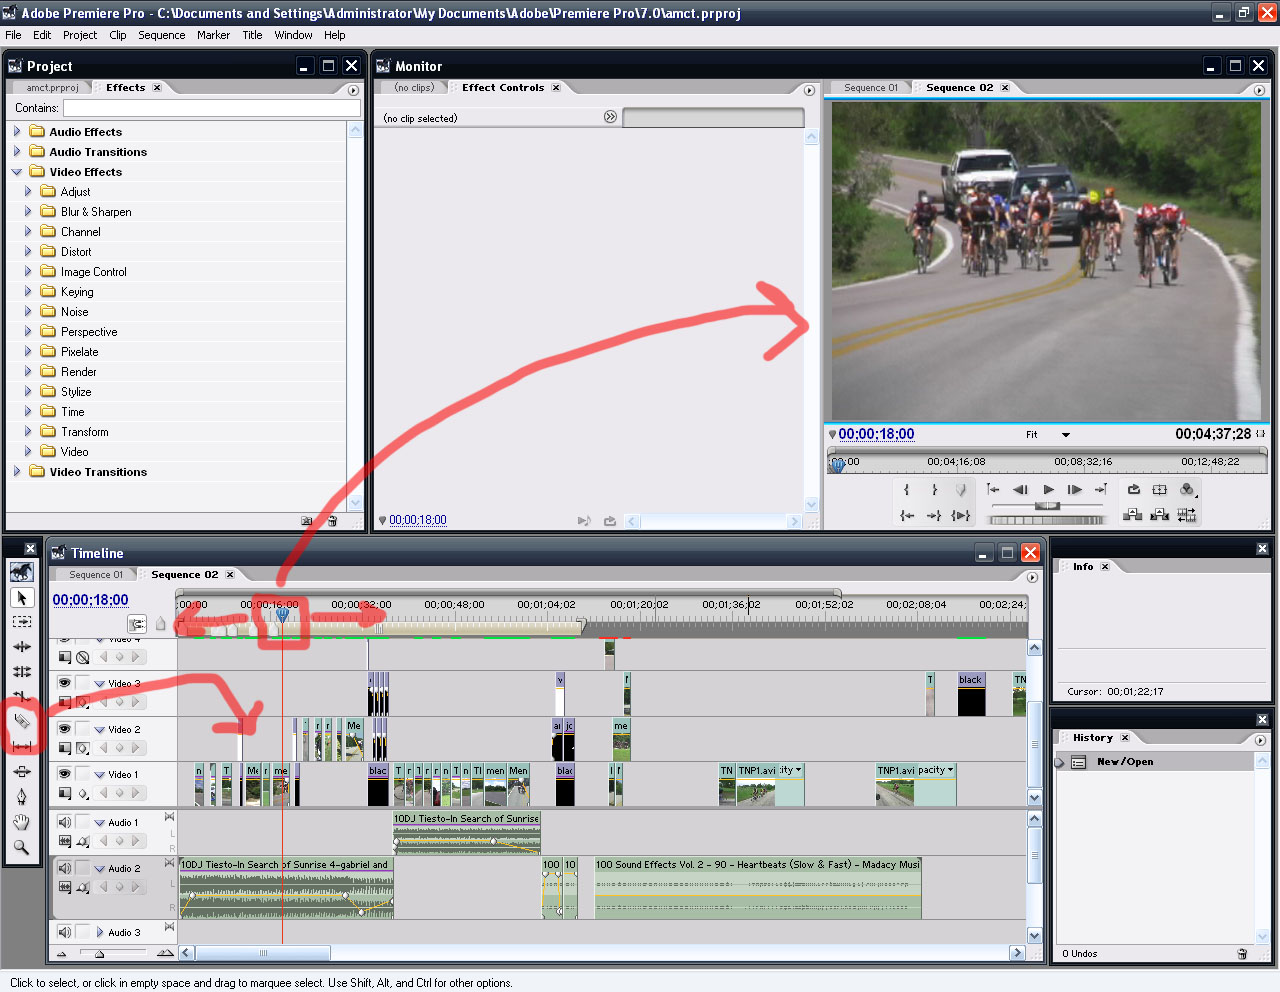
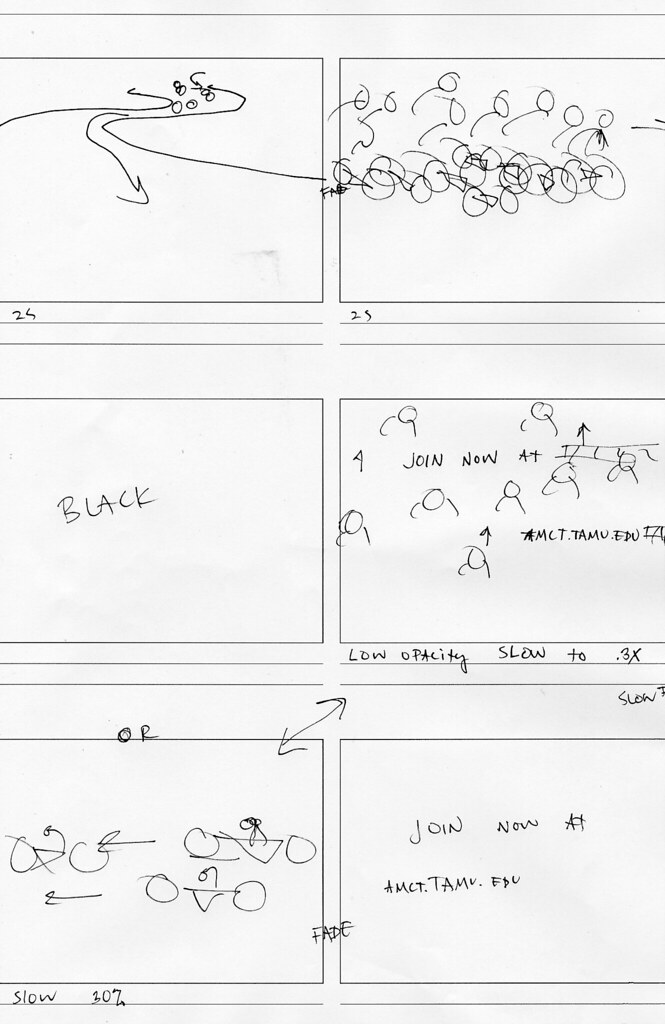
Since there is a lot of footage and it’s tough to know exactly where to get started, what I did was create a storyboard. Storyboarding is something that every serious producer will utilize.
 Some of the best storyboards in the business are created by the Cohen brothers. Their storyboards are almost identical to the actual final product. A storyboard is a series of thumbnail drawings that catalogue a series of key scenes to create a story. There is often notes that go along with each drawing, that are meant to help the cinematographer. A storyboard image can be a very rough drawing or a work of art, it really doesn’t matter as long as it works. So I got my idea on paper and got started with the editing.
 The most difficult thing to get when editing footage is the timing. You will spend hours getting everything to fade in just right, and everything to cut in and out at the right times. Sometimes it can be very frustrating. However it is the most important part of making a good film. If the timing is off then it looks extremely unprofessional. Timing is something that you need to just learn from practice.
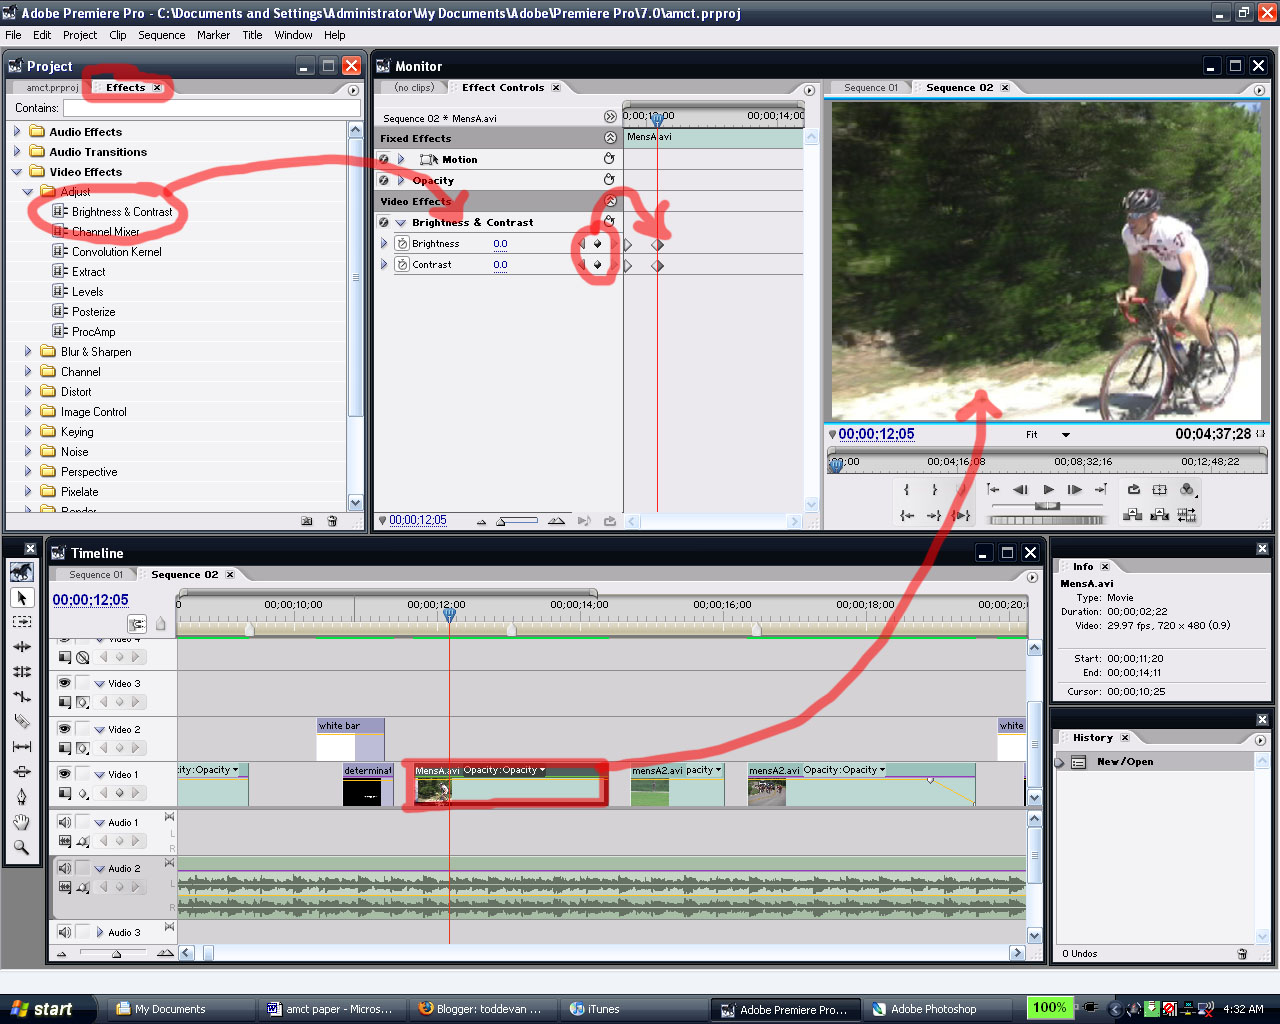 In terms of the effects that I used, I only used about four effects through the whole thing. When you want to apply an effect to a piece of footage, you need to select the footage that you want to effect, then click the effects tab, and scroll down until you see one that you want to use. You click and hold that effect and drag it onto the editing window. The effects I used a lot were position, color balance, and color offset. When you see my text flickering about the screen, what I am doing is moving the text slightly frame by frame with Key Frames. Key frames are a very handy tool that allows you to apply effects to specific parts of a film clip.
 I really feel like I have learned a lot by doing this project. I have a new level of respect for movie trailers. They convey a huge amount of information, emotion, and excitement in a very limited amount of frames. When you analyze a trailer frame by frame, you see that each action scene is usually no more than 1 second long. When I first wanted to make my movie, I was thinking it would be five minutes long, easily. My final video is just over one minute, and that was difficult. Adobe premiere is a very versatile and powerful program. I hope you like my final product.
posted by toddevan @ 3:19 AM
Comments: 0
![]()