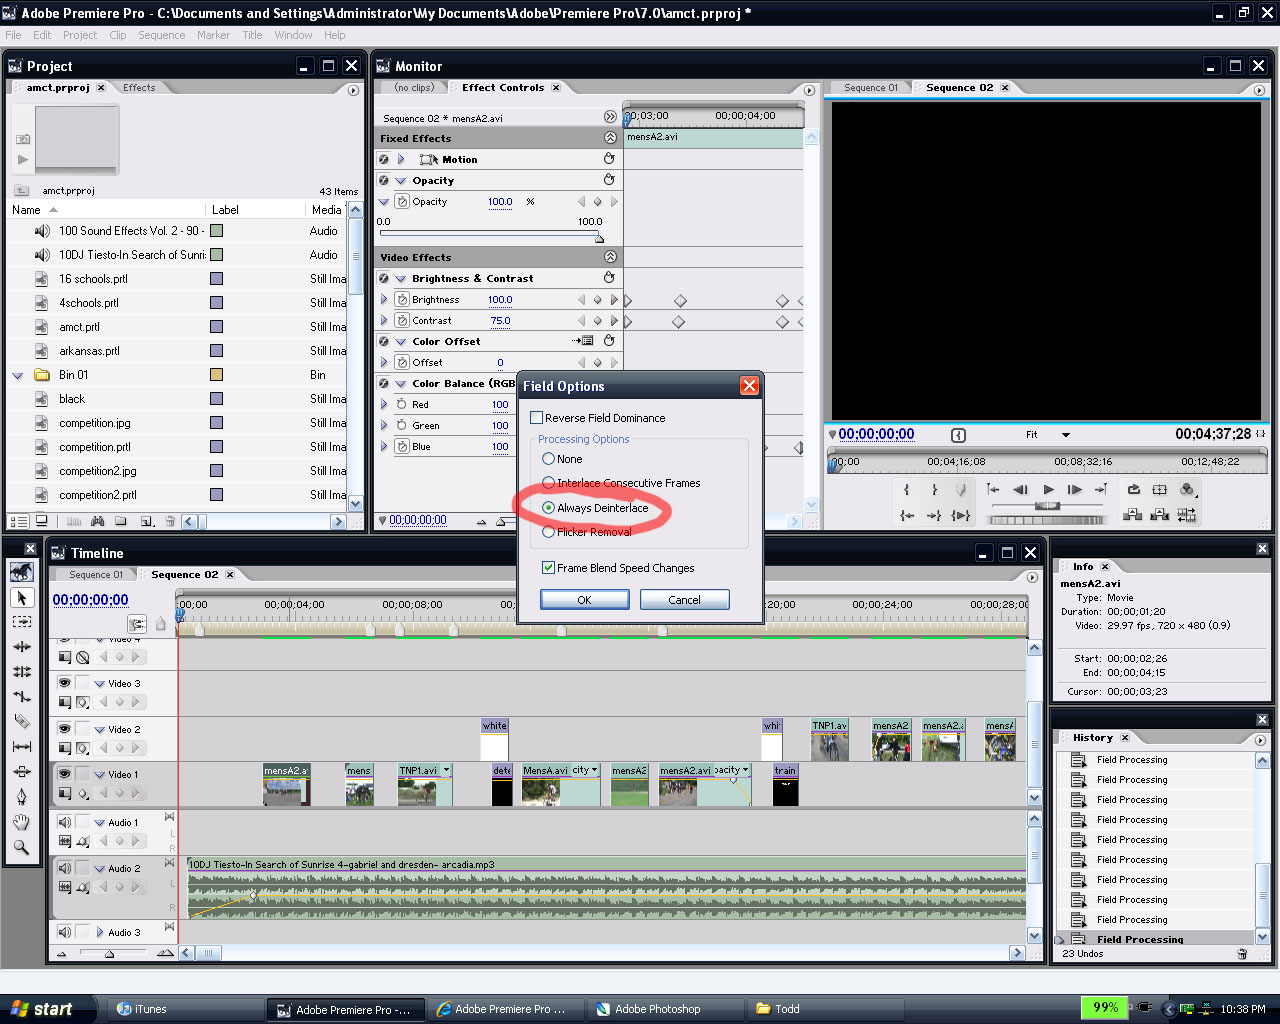
De Interlacing
As you may have noticed in my final video there were some horizontal bars that ran across my screen like a comb when the images would cross the screen at a fast rate. The reason it does that is because of something called
Interlacing. Basically the footage displayed is showing you less frames per second than what you actually record at. Interlacing is a kind of video compression that shows chops the video into even and odd frames and kind of splices them together and the result looks like a bunch of horizontal bars running across the image. So the way to remedy this is by going into Premiere and clicking on each film segment and then clicking the "clip" drop down and then selecting Video options, then Feild options, then Always deinterlace. The end result looks much better.
Revised version
AMCT final
For my final project I wanted to create a video for the
Texas A&M Cycling Team I am on using
Adobe Premiere. I have had an interest in film for a considerable period of time now, so I thought it would be very educational, fun, and beneficial to undertake this project.
I shot the footage over one week. I got footage at the University of Texas race and then later on at one of the local cycling rides. One of the most difficult parts about getting footage was trying to get a wide variety of shots. During the Texas race, I actually hitched a ride in one of the chase cars to get some of the shots. That was a lot of fun; I had front row seats to the race. I also filmed a local race called the TNP race which stands take no prisoners. For those shots I had a friend driving my car, while I sat in the bonnet with my camera. It was raining that day so it was intense.
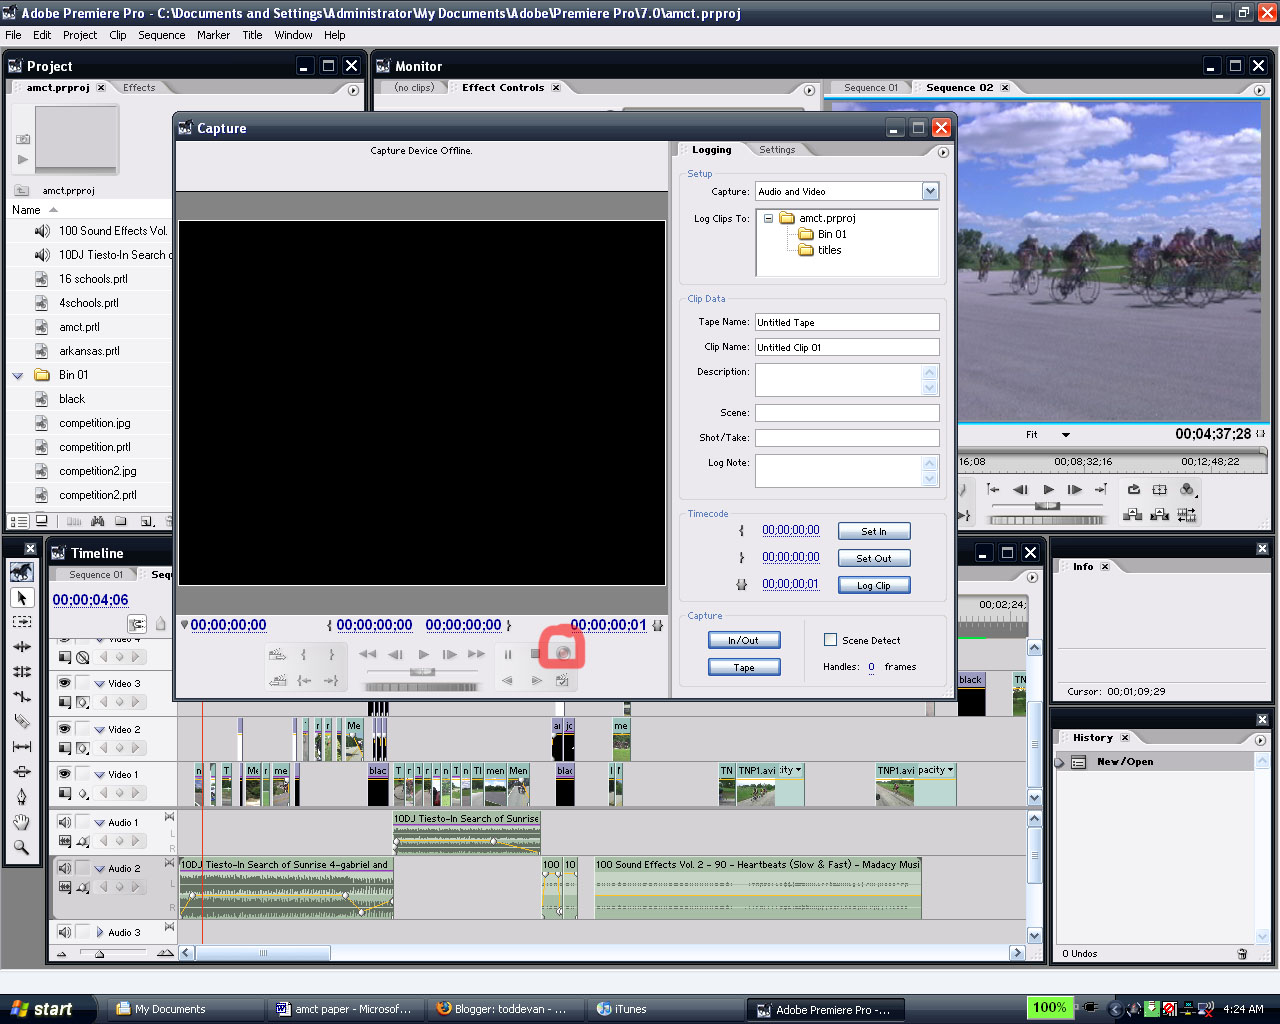
Editing the whole thing took several days. The way Premiere works, is you capture your footage from your camera to your computer in the form of a .avi file. Premiere has this capture capability built into it. Then you have a block of video that you can scrub through frame by frame and select the footage that you want.
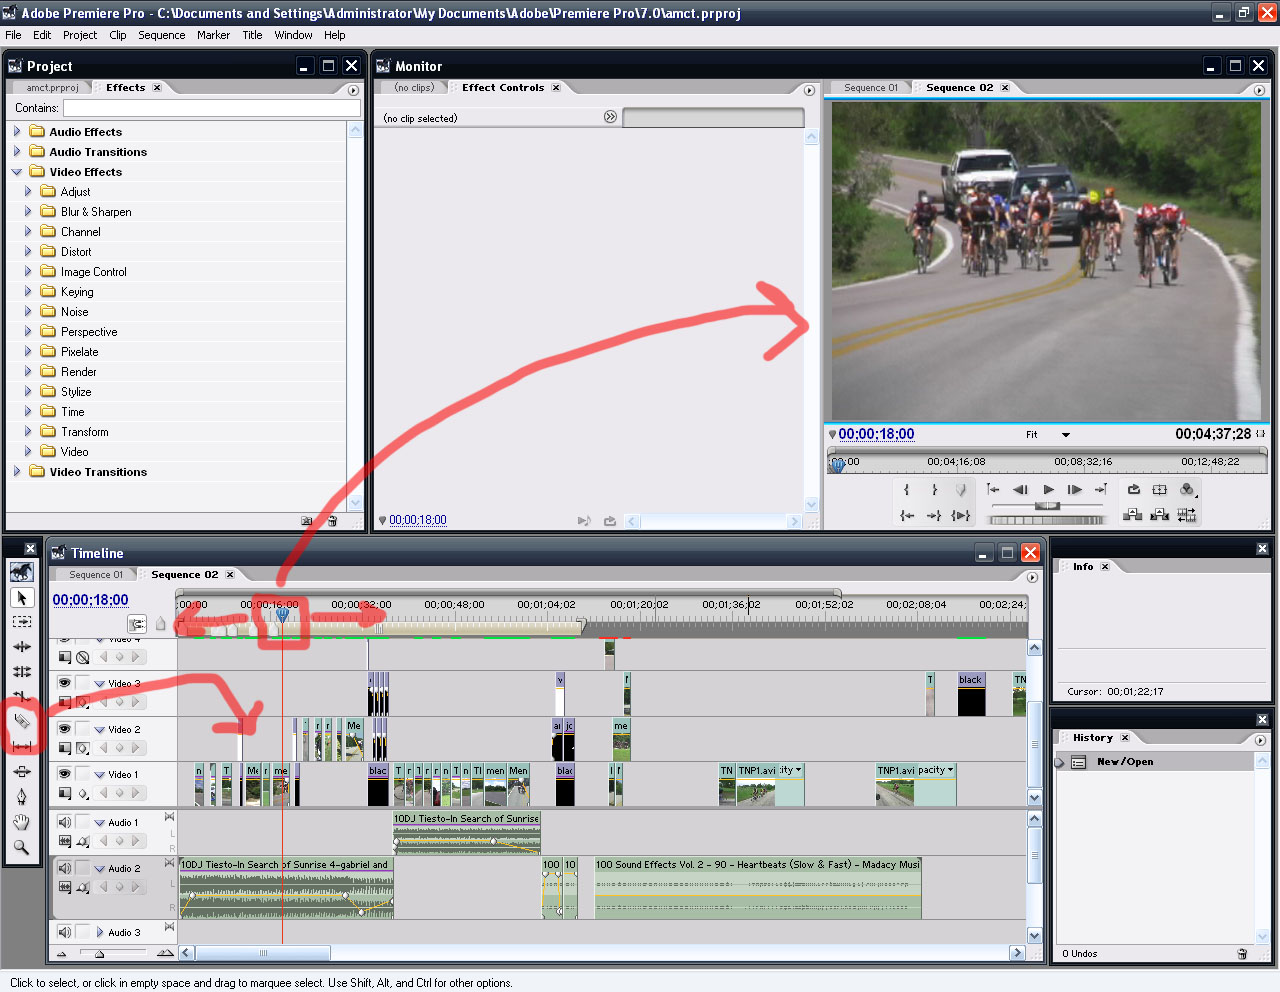
Premiere has tools for cutting and stretching film segments. You can have several layers of film playing at the same time, and you can get some crazy effects by layering film. Premiere also lets you import .mp3 files and have music files going on multiple levels just like the video.
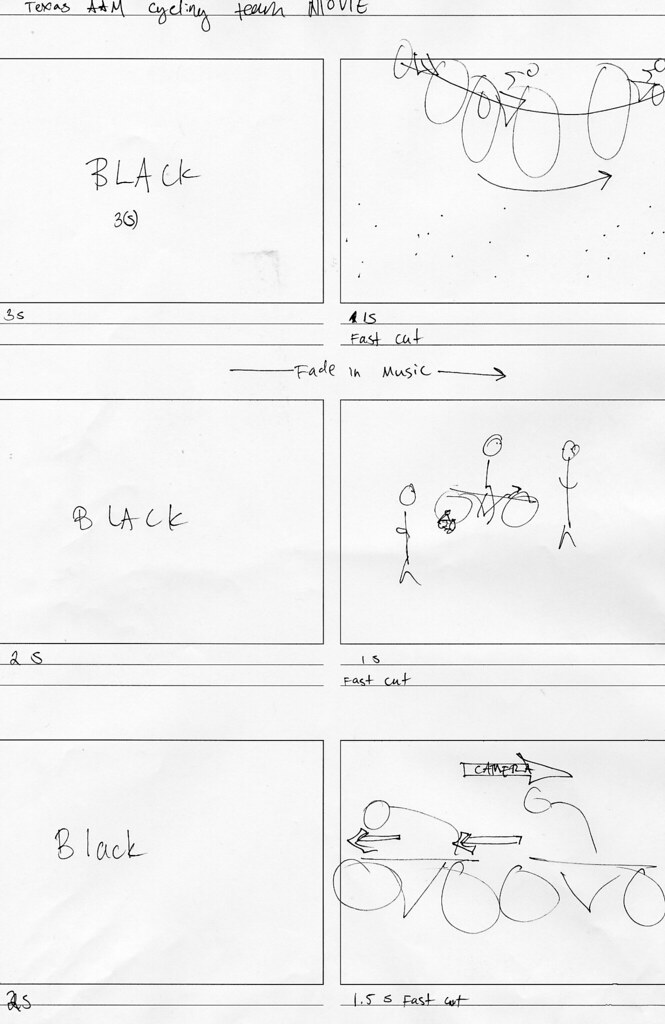
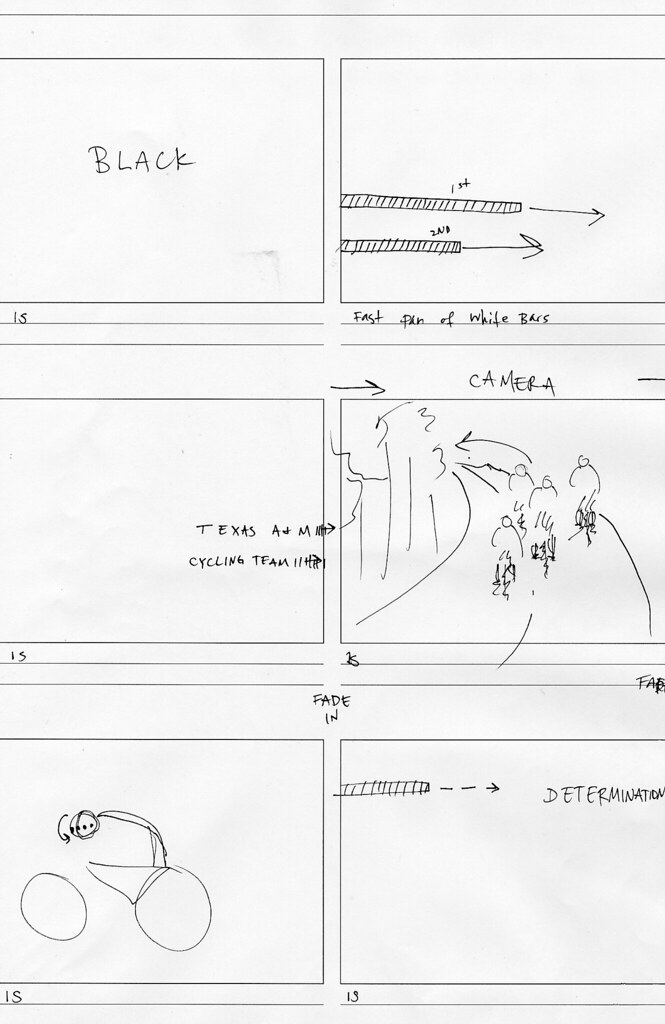
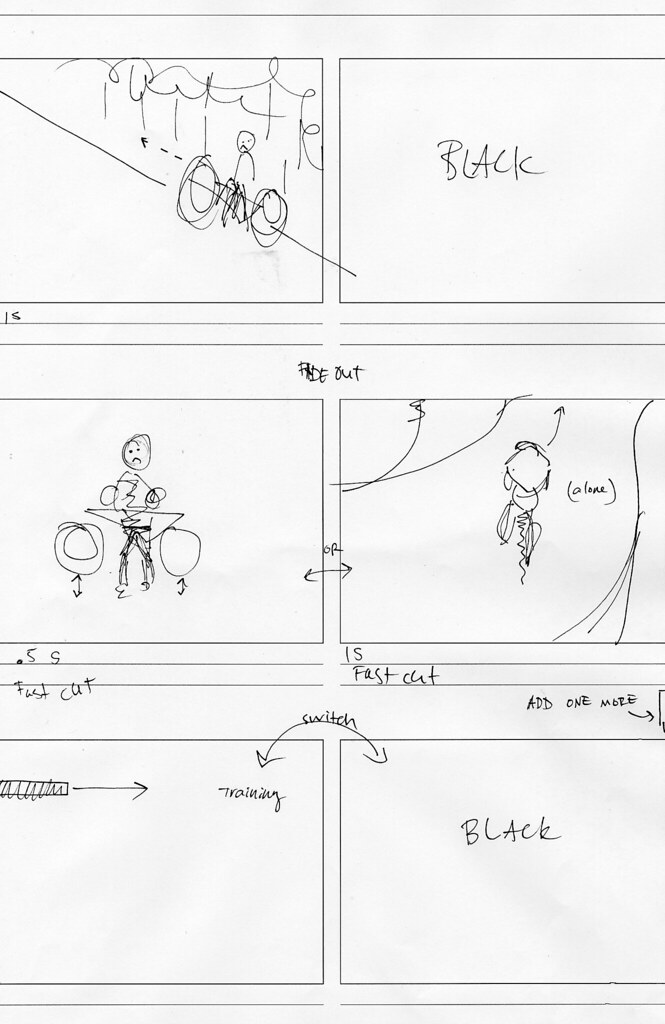
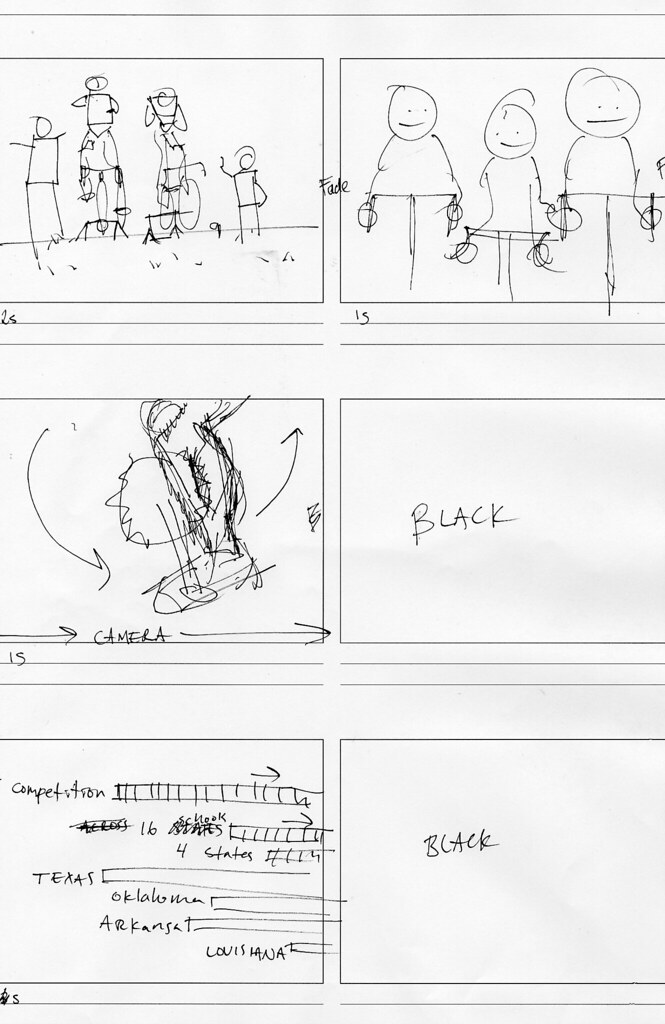
Since there is a lot of footage and it’s tough to know exactly where to get started, what I did was create a
storyboard. Storyboarding is something that every serious producer will utilize.
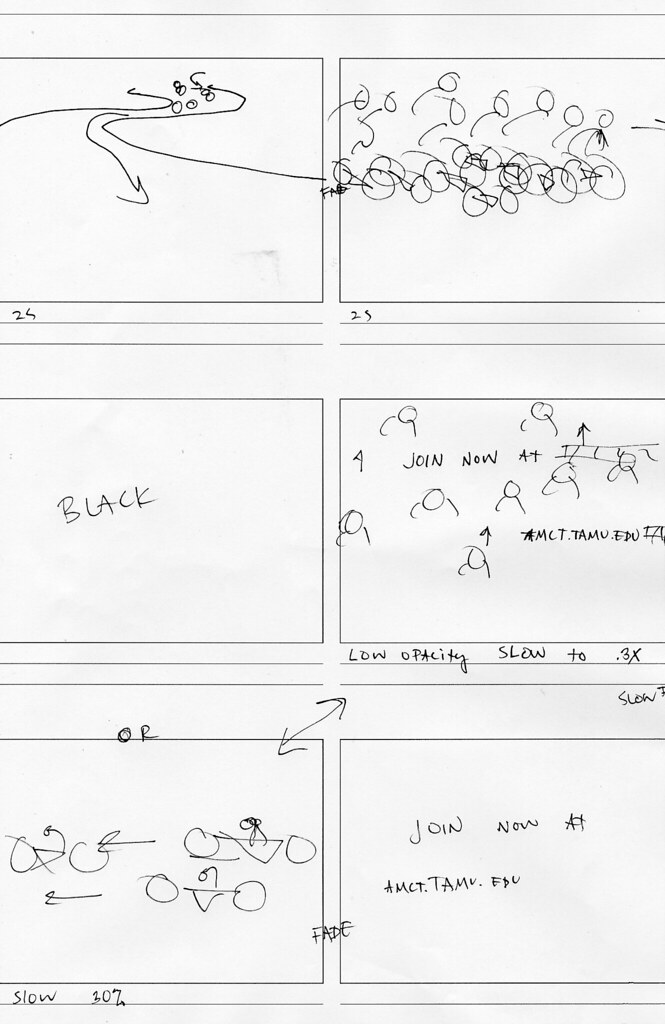
Some of the best storyboards in the business are created by the Cohen brothers. Their storyboards are almost identical to the actual final product. A storyboard is a series of thumbnail drawings that catalogue a series of key scenes to create a story. There is often notes that go along with each drawing, that are meant to help the cinematographer. A storyboard image can be a very rough drawing or a work of art, it really doesn’t matter as long as it works. So I got my idea on paper and got started with the editing.
The most difficult thing to get when editing footage is the timing. You will spend hours getting everything to fade in just right, and everything to cut in and out at the right times. Sometimes it can be very frustrating. However it is the most important part of making a good film. If the timing is off then it looks extremely unprofessional. Timing is something that you need to just learn from practice.
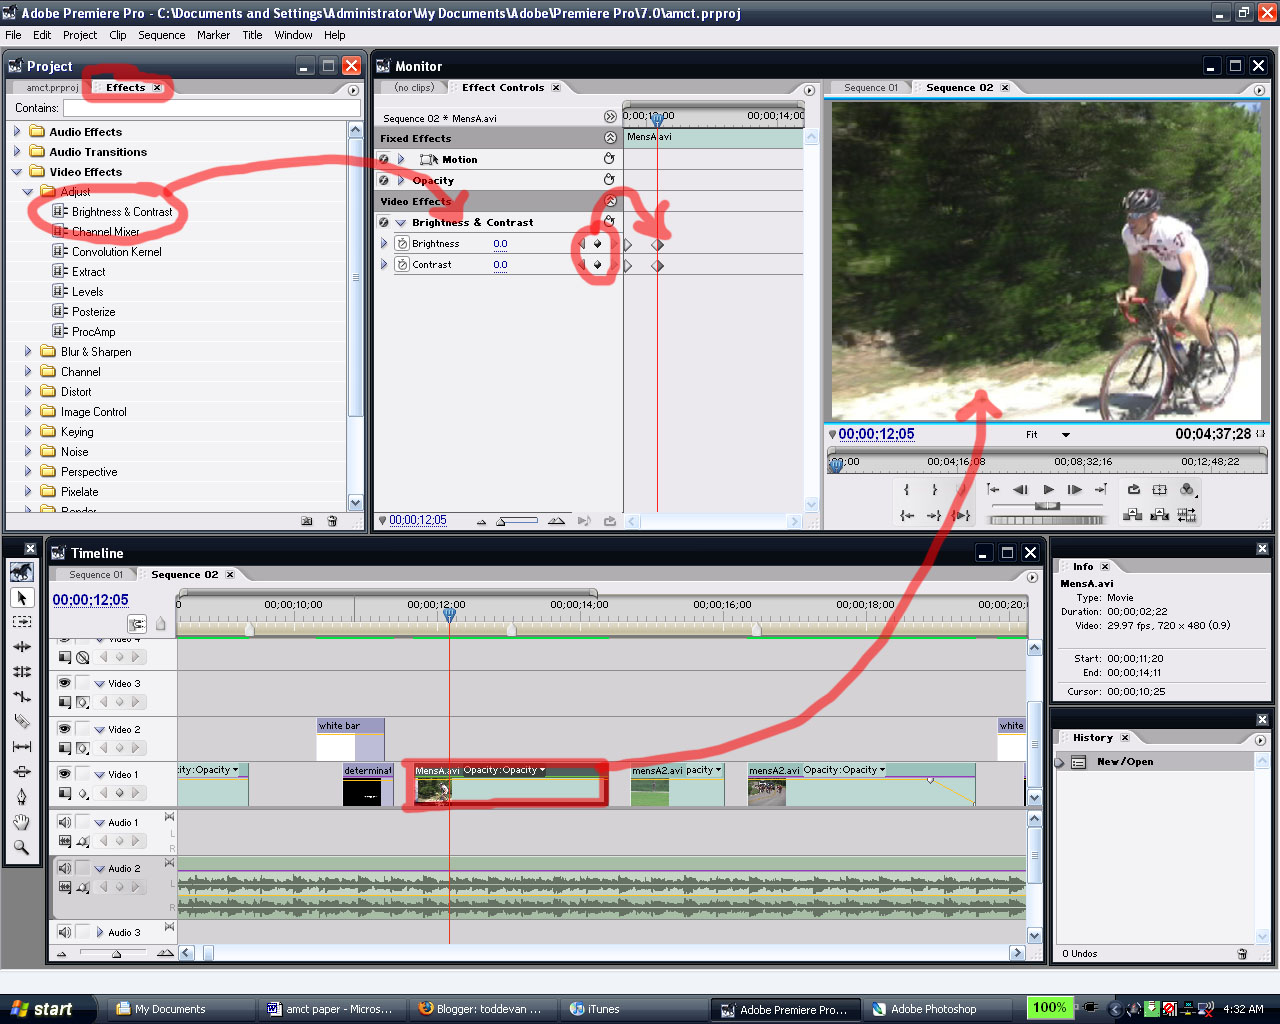
In terms of the effects that I used, I only used about four effects through the whole thing. When you want to apply an effect to a piece of footage, you need to select the footage that you want to effect, then click the effects tab, and scroll down until you see one that you want to use. You click and hold that effect and drag it onto the editing window. The effects I used a lot were position, color balance, and color offset. When you see my text flickering about the screen, what I am doing is moving the text slightly frame by frame with
Key Frames. Key frames are a very handy tool that allows you to apply effects to specific parts of a film clip.
I really feel like I have learned a lot by doing this project. I have a new level of respect for movie trailers. They convey a huge amount of information, emotion, and excitement in a very limited amount of frames. When you analyze a trailer frame by frame, you see that each action scene is usually no more than 1 second long. When I first wanted to make my movie, I was thinking it would be five minutes long, easily. My final video is just over one minute, and that was difficult. Adobe premiere is a very versatile and powerful program. I hope you like my
final product.
storyboard
my storyboard for my movie project:

Final project update
So, i have been working on my final project and it is really coming along. Last week, i went out again with a friend to get more footage of cyclists in action. Right now i have over 2 hours of footage. Editing has been fun. I am learning a lot about adobe premiere pro and video editing in general. Right now i am trying to keep my video from being one giant music video, and it tougher than it sounds. Merging and transitioning audio can be very tricky. Also, there isn't any dialog in my video right now, which may change. So far things are looking good though.
nurbs
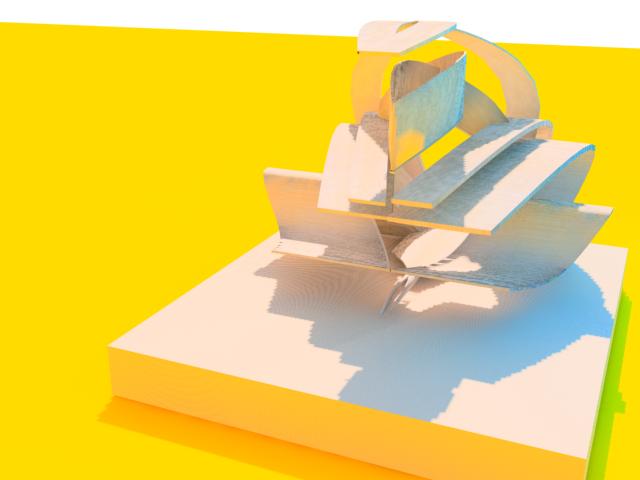
I happend across something the other day and thought it was really cool. It is on
Wikipedia about Nurbs. So i decided to try it out. It is really a fascinating tool in Viz. You can create lines and do all sorts of crazy alterations to make some very interesting structures. Several sculptures by
Ball Nogues have been created using Nurbs. So i decided to just play around with it. I messed around mostly with the extrude tool. My final is rendering, but it is not done yet so i will post some of the preliminary versions first.


TED talks

I watched several
TED talks today and found them both very fascinating. I watched Bill McDonough, Jeff Han speak and Ken Robinson. I also watched
What Bill had to say was most fascinating. He talked about his cradle to cradle design theory. The idea is to make design a sustainable loop. If we do not adopt this design method and keep on using un sustainable materials terrible things will happen. In china, within the next twelve years by using bricks to build enough buildings to house their growing population they will drain all of the natural resources in their soil and use up all their coal. His city plan for a city in china was to lift the farm land up, and have the city under neath with bridges on the roofs to connect the farm land.
Jeff Han Han spoke about multiple touch interface and the programs you can create that utilizes this technology. I thought this was very exciting and the possibilities for this technology is very scalable. This technology can be Incorporated in a large number of fields. The first thing i think of is medicine. For a sensitive open heart or brain surgery an interface like the multi touch could give doctors almost infinite flexibility that is much harder to achieve with a joystick.
Ken Robinson spoke about public education. His main point was that public education all around the world destroys our creativity by putting to much of an emphasis on mathematics and linguistics, and stigmatizing the arts. According to him a fundamental part of creativity is not being afraid to make mistakes, and our current education system trains us to fear making mistakes. I thought that this point was a valid one, however i wish he could have proposed a solution instead of just stating the problem.
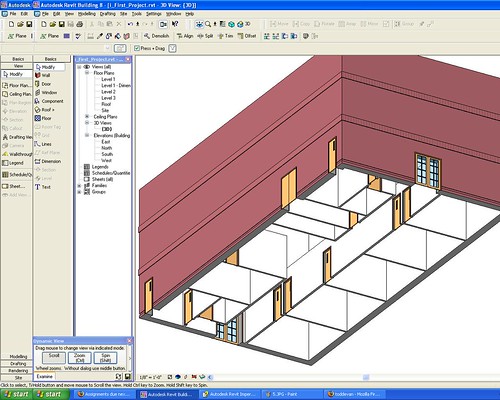
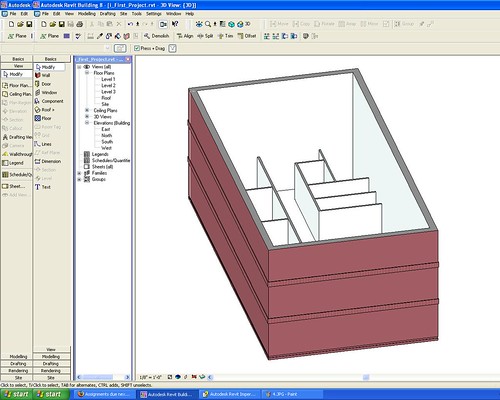
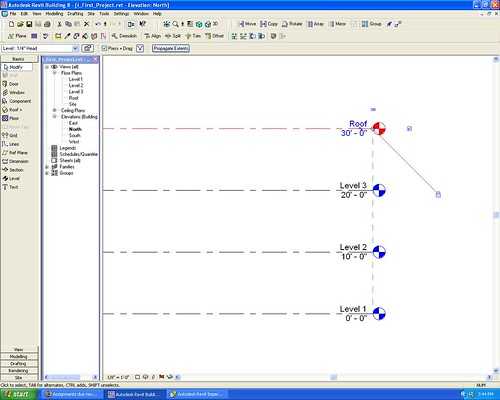
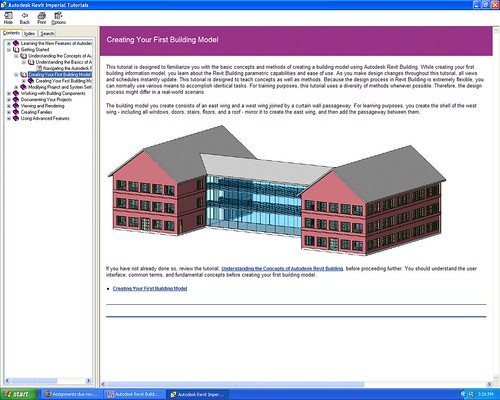
Revit
This is my Revit final model made from scratch.. yay!
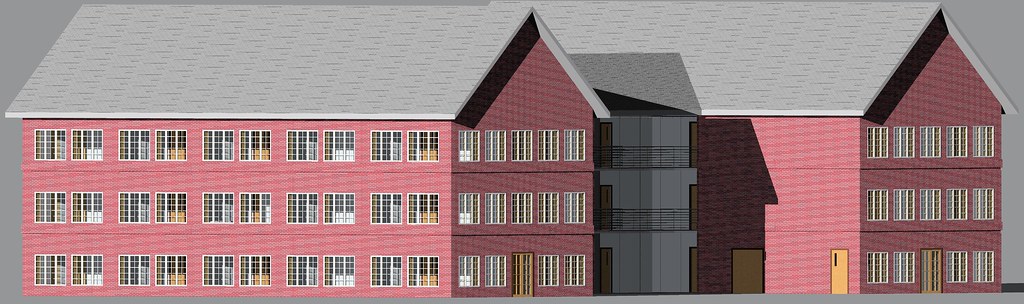
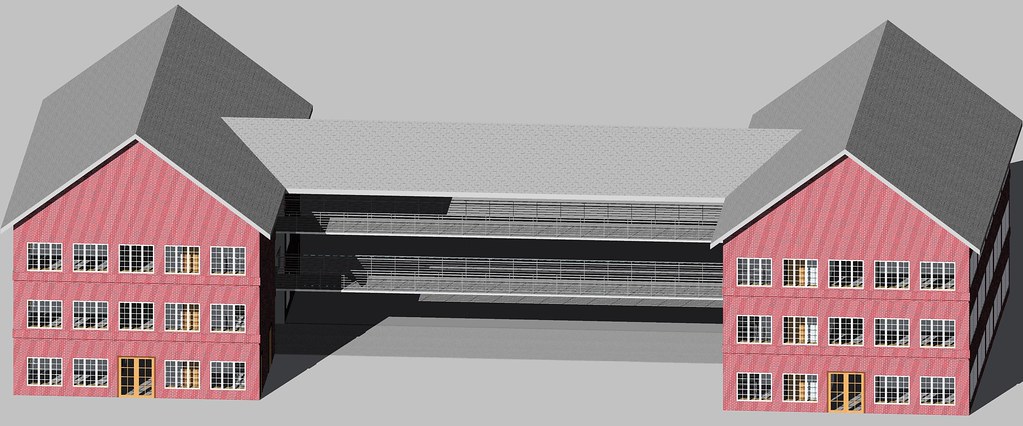
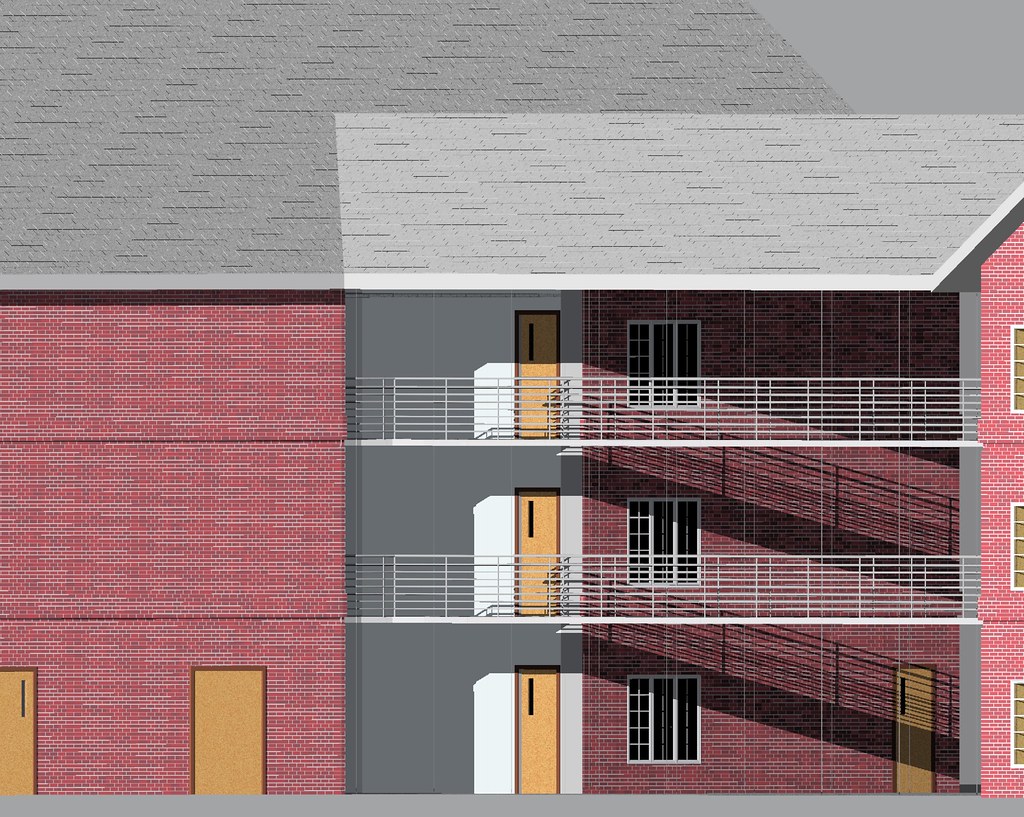
total time: 1000 hr
REVIT
I am in the process of creating a building in Revit. Revit is much easier than AutoCAD, i had no idea until now.